Asset Management Between Workspaces
Different assets in BusinessGPT behave differently with respect to workspaces:Cross-Workspace
Prompt Libraries: Are available in all workspaces and can be used everywhere
Workspace-Specific
Knowledge Bases: Are specific to each workspace and are not sharedAssistants: Are workspace-specific and must be configured separately for each workspaceMemory: Only includes chats from the respective workspace
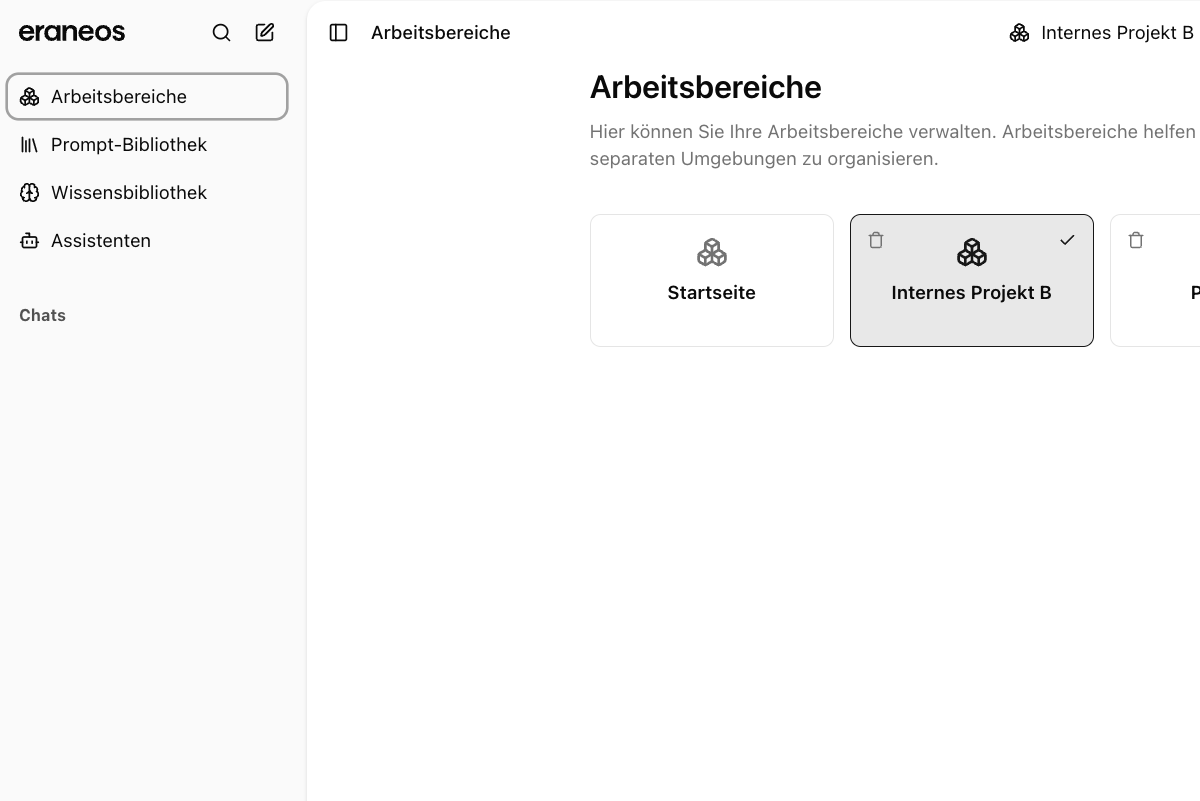
Creating a Workspace
To create a new workspace:- Navigate to the Workspaces section in the sidebar or user area
- Click the “Add Workspace” button
- Enter a descriptive name for your workspace (e.g., “Client A”, “Research Project”, “Personal Notes”)
- Click “Create” to complete the process
Workspace Organization
Each workspace provides a clear, separate environment for your work:Personal Context
Each workspace maintains its own conversation history and context
Topic Separation
Keep different topics or customer information cleanly separated
Workspace Settings
Each workspace has basic configurable settings:- General Settings: Name and description of the workspace
Organizing Content
Within a workspace, you can organize your personal content:- Conversations: Access your chat history specific to this workspace
- Notes: Keep workspace-specific information organized
- Context: Maintain separate conversation contexts for different topics
Switching Between Workspaces
You can easily switch between different workspaces:- Click the workspace selector in the user area or top navigation bar
- Select the desired workspace from the dropdown menu
- Your context immediately switches to the selected workspace
Use Cases for Workspaces
Workspaces are ideal for:- Client Management: Create separate workspaces for different clients to keep their information organized
- Knowledge Base Organization: Maintain different workspaces for different knowledge bases, assistants, or prompts
- Topic Separation: Keep work-related queries separate from personal research
- Context Switching: Quickly switch between different topic areas without losing context
Best Practices
For optimal workspace management:- Create purpose-specific workspaces: Dedicate workspaces to specific clients, knowledge bases, or topics
- Use descriptive names: Choose clear, meaningful names that indicate the workspace’s purpose
- Regular cleanup: Archive or delete workspaces that are no longer needed
- Limit the number of workspaces: Maintain only as many workspaces as you can effectively manage